
This article shows how to build the classroom server which most RHCSA test exercises are run against.
The environment is virtual box running on a very new Macbook Pro with a modern CPU and 32 GB of Ram.
We start with a dead machine transferred from the old Mac.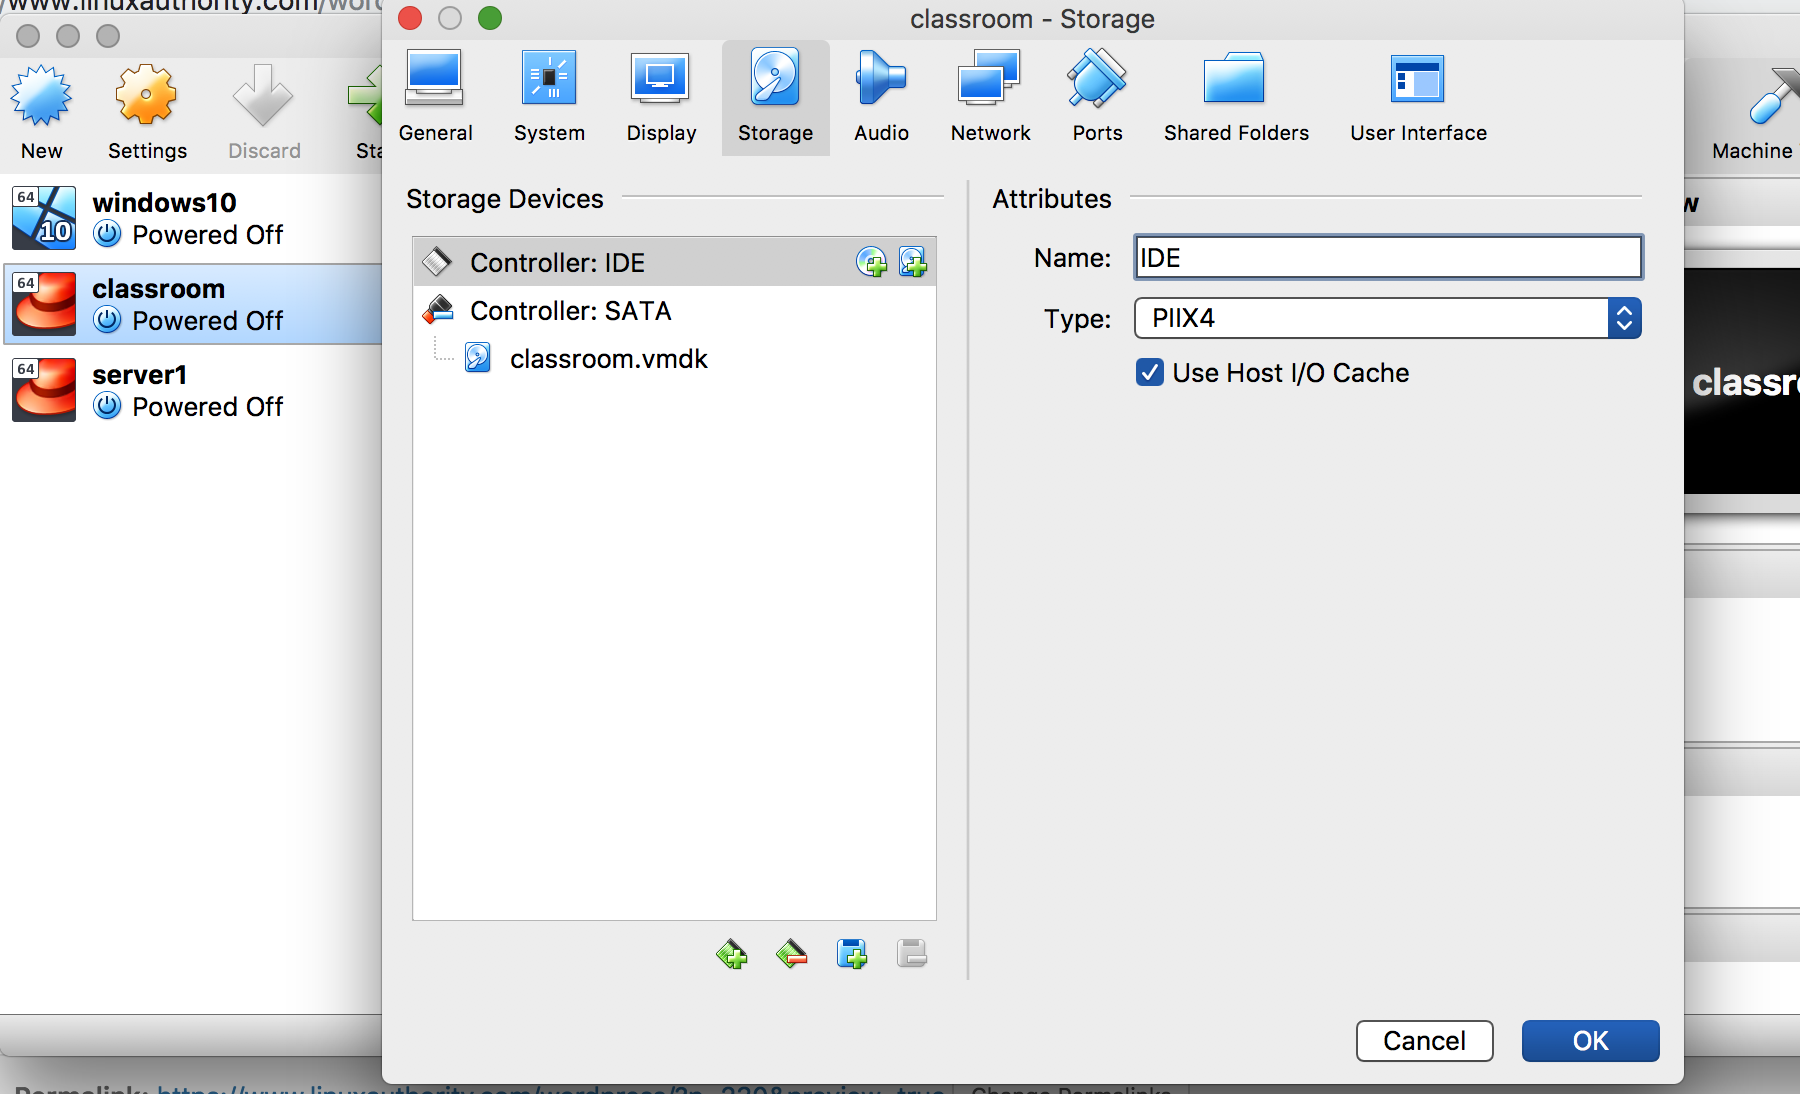
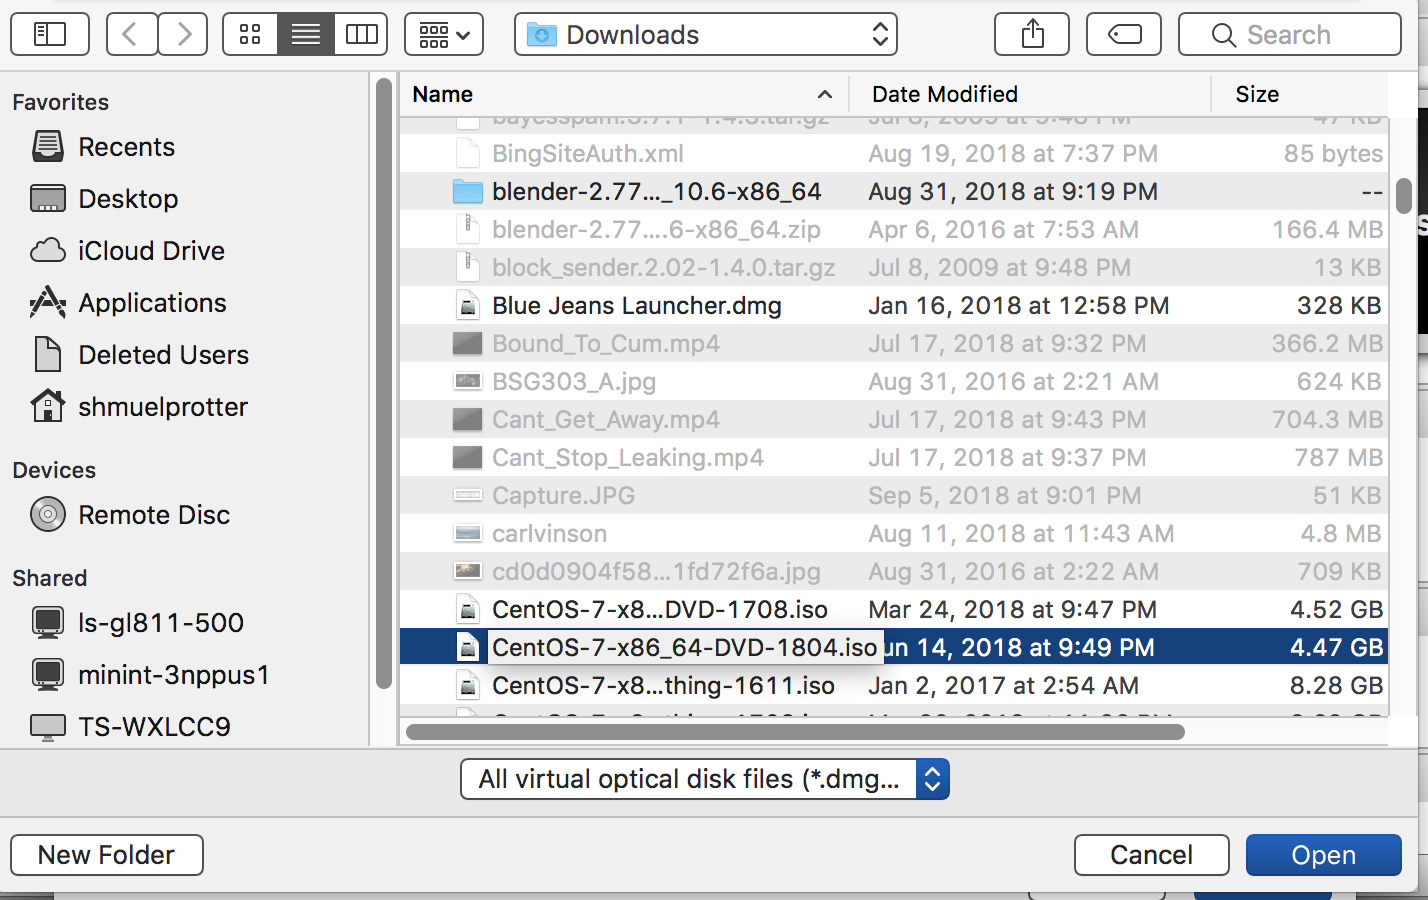
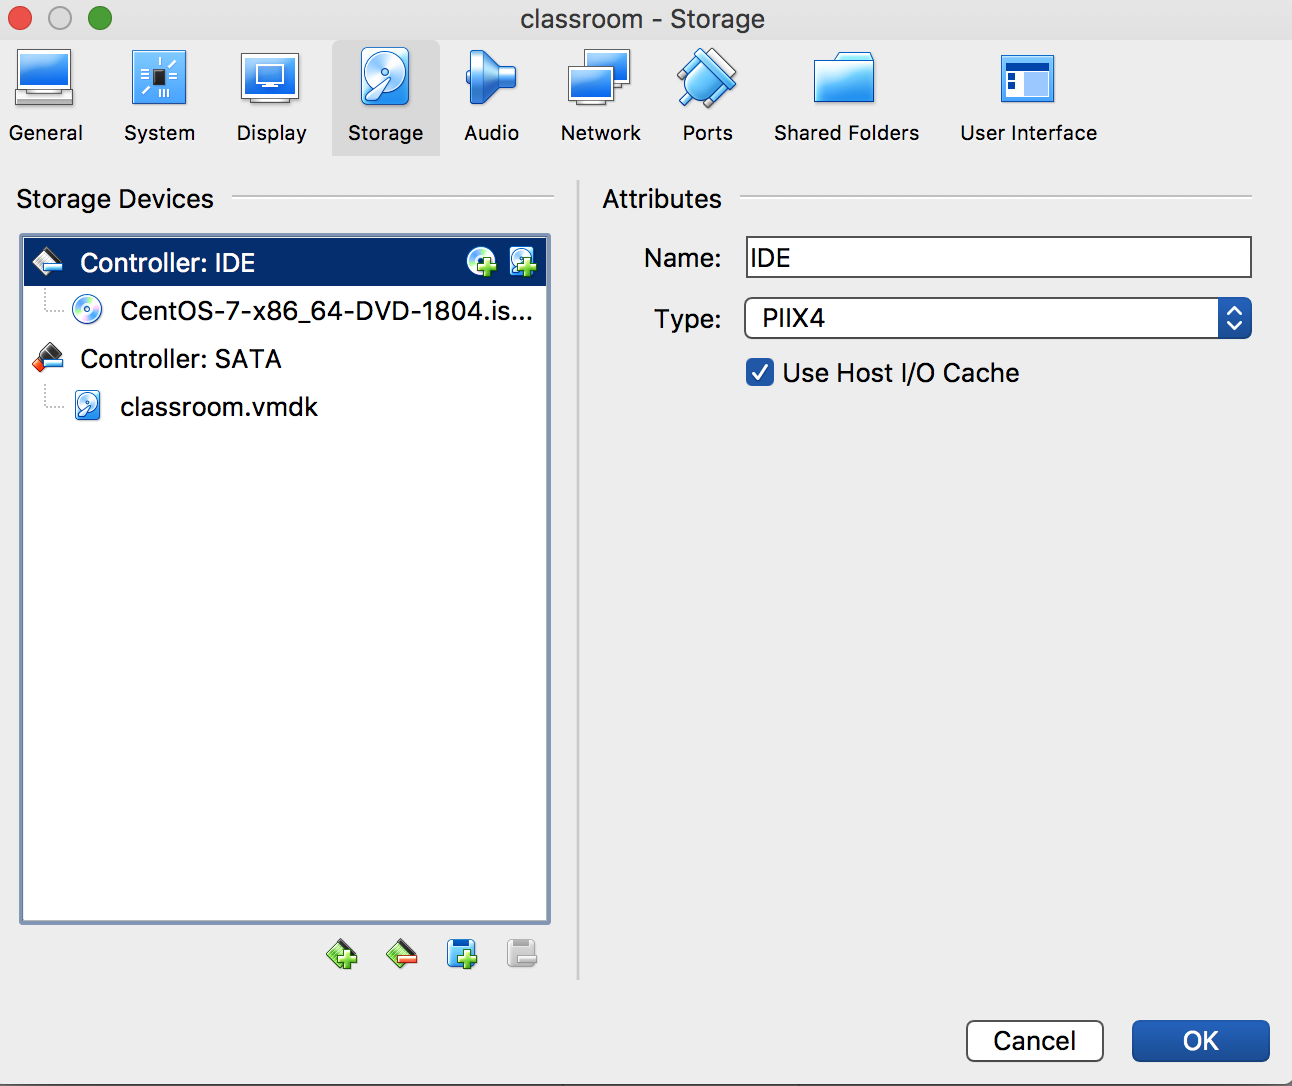
Next we add in the CentOS 7 latest iso image. We click on the + sign to add an optical drive.
Next we power up the system.
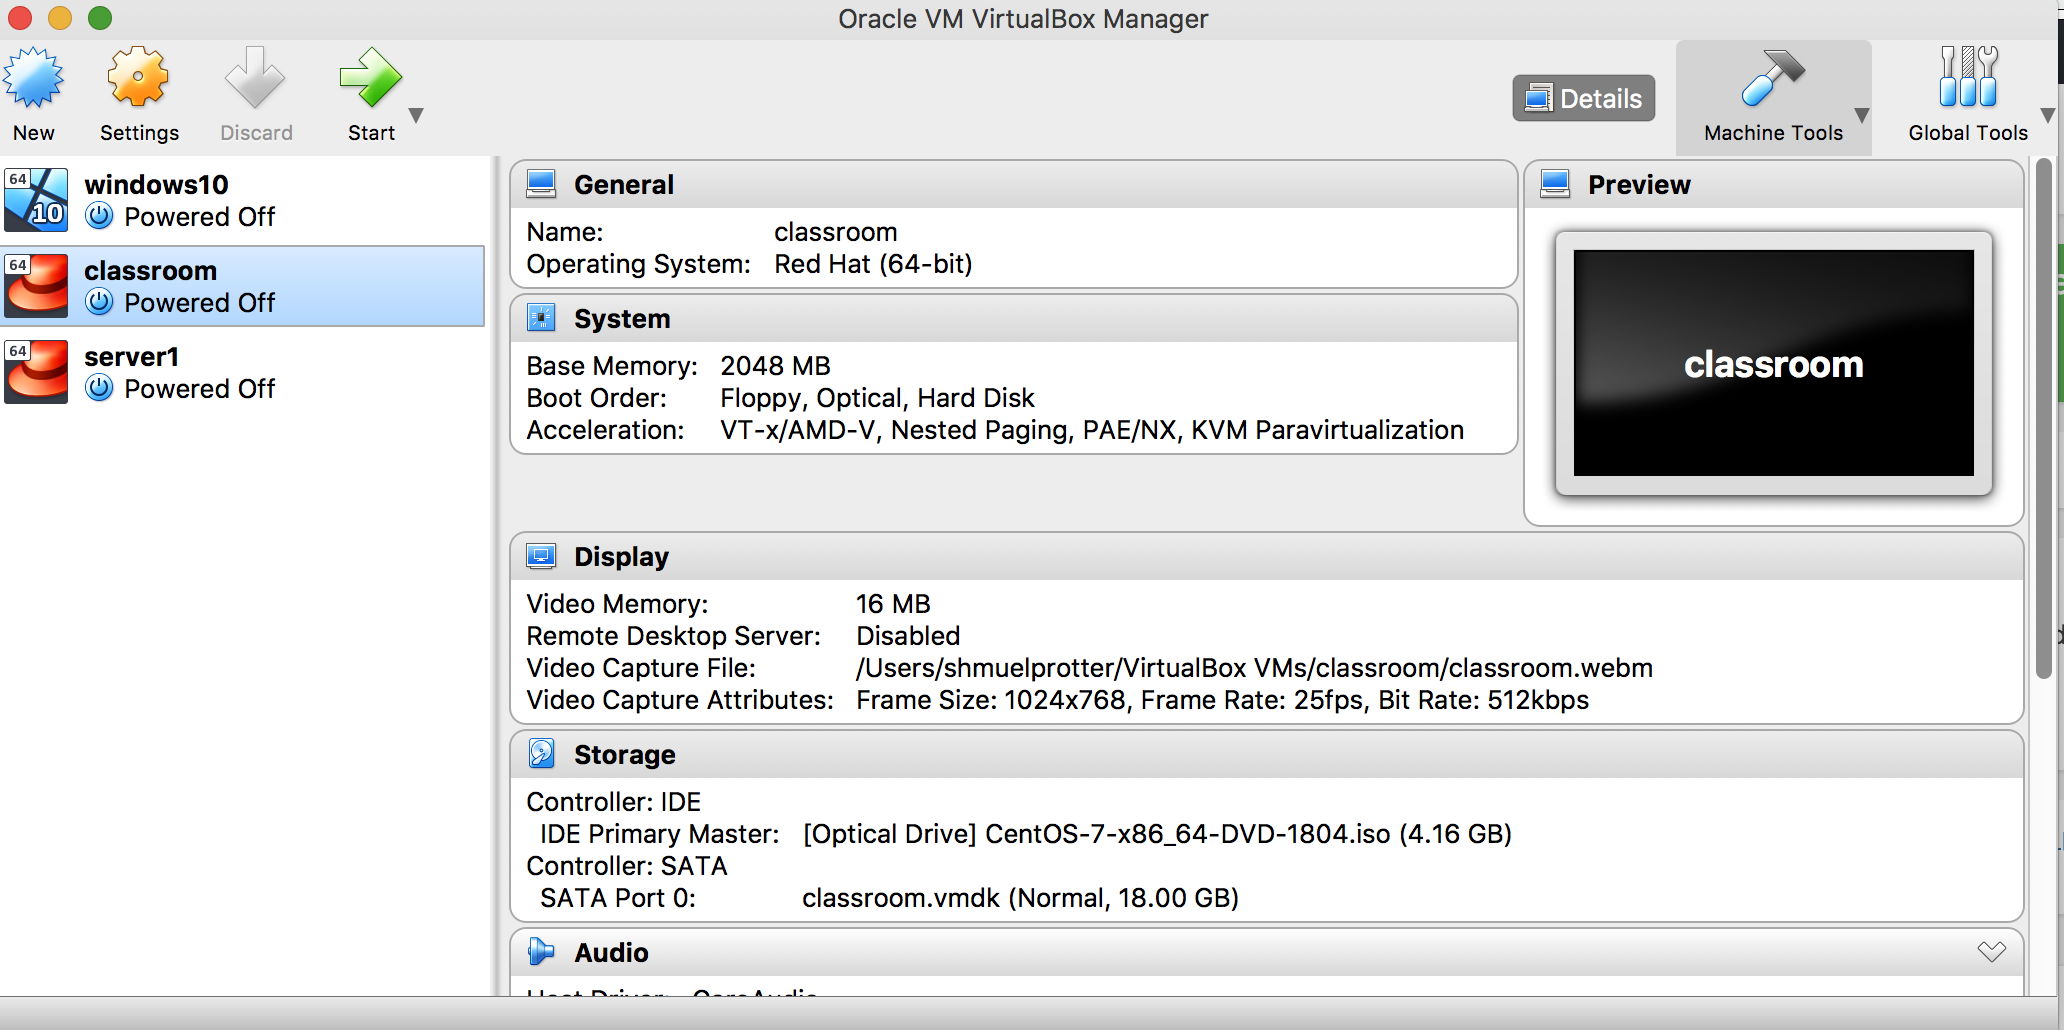
The system is set for 18 GB so it can be a repo server for the entire build.
We will eventually try and share a network with the Windows 10 box.
Click start:
The magic begins:
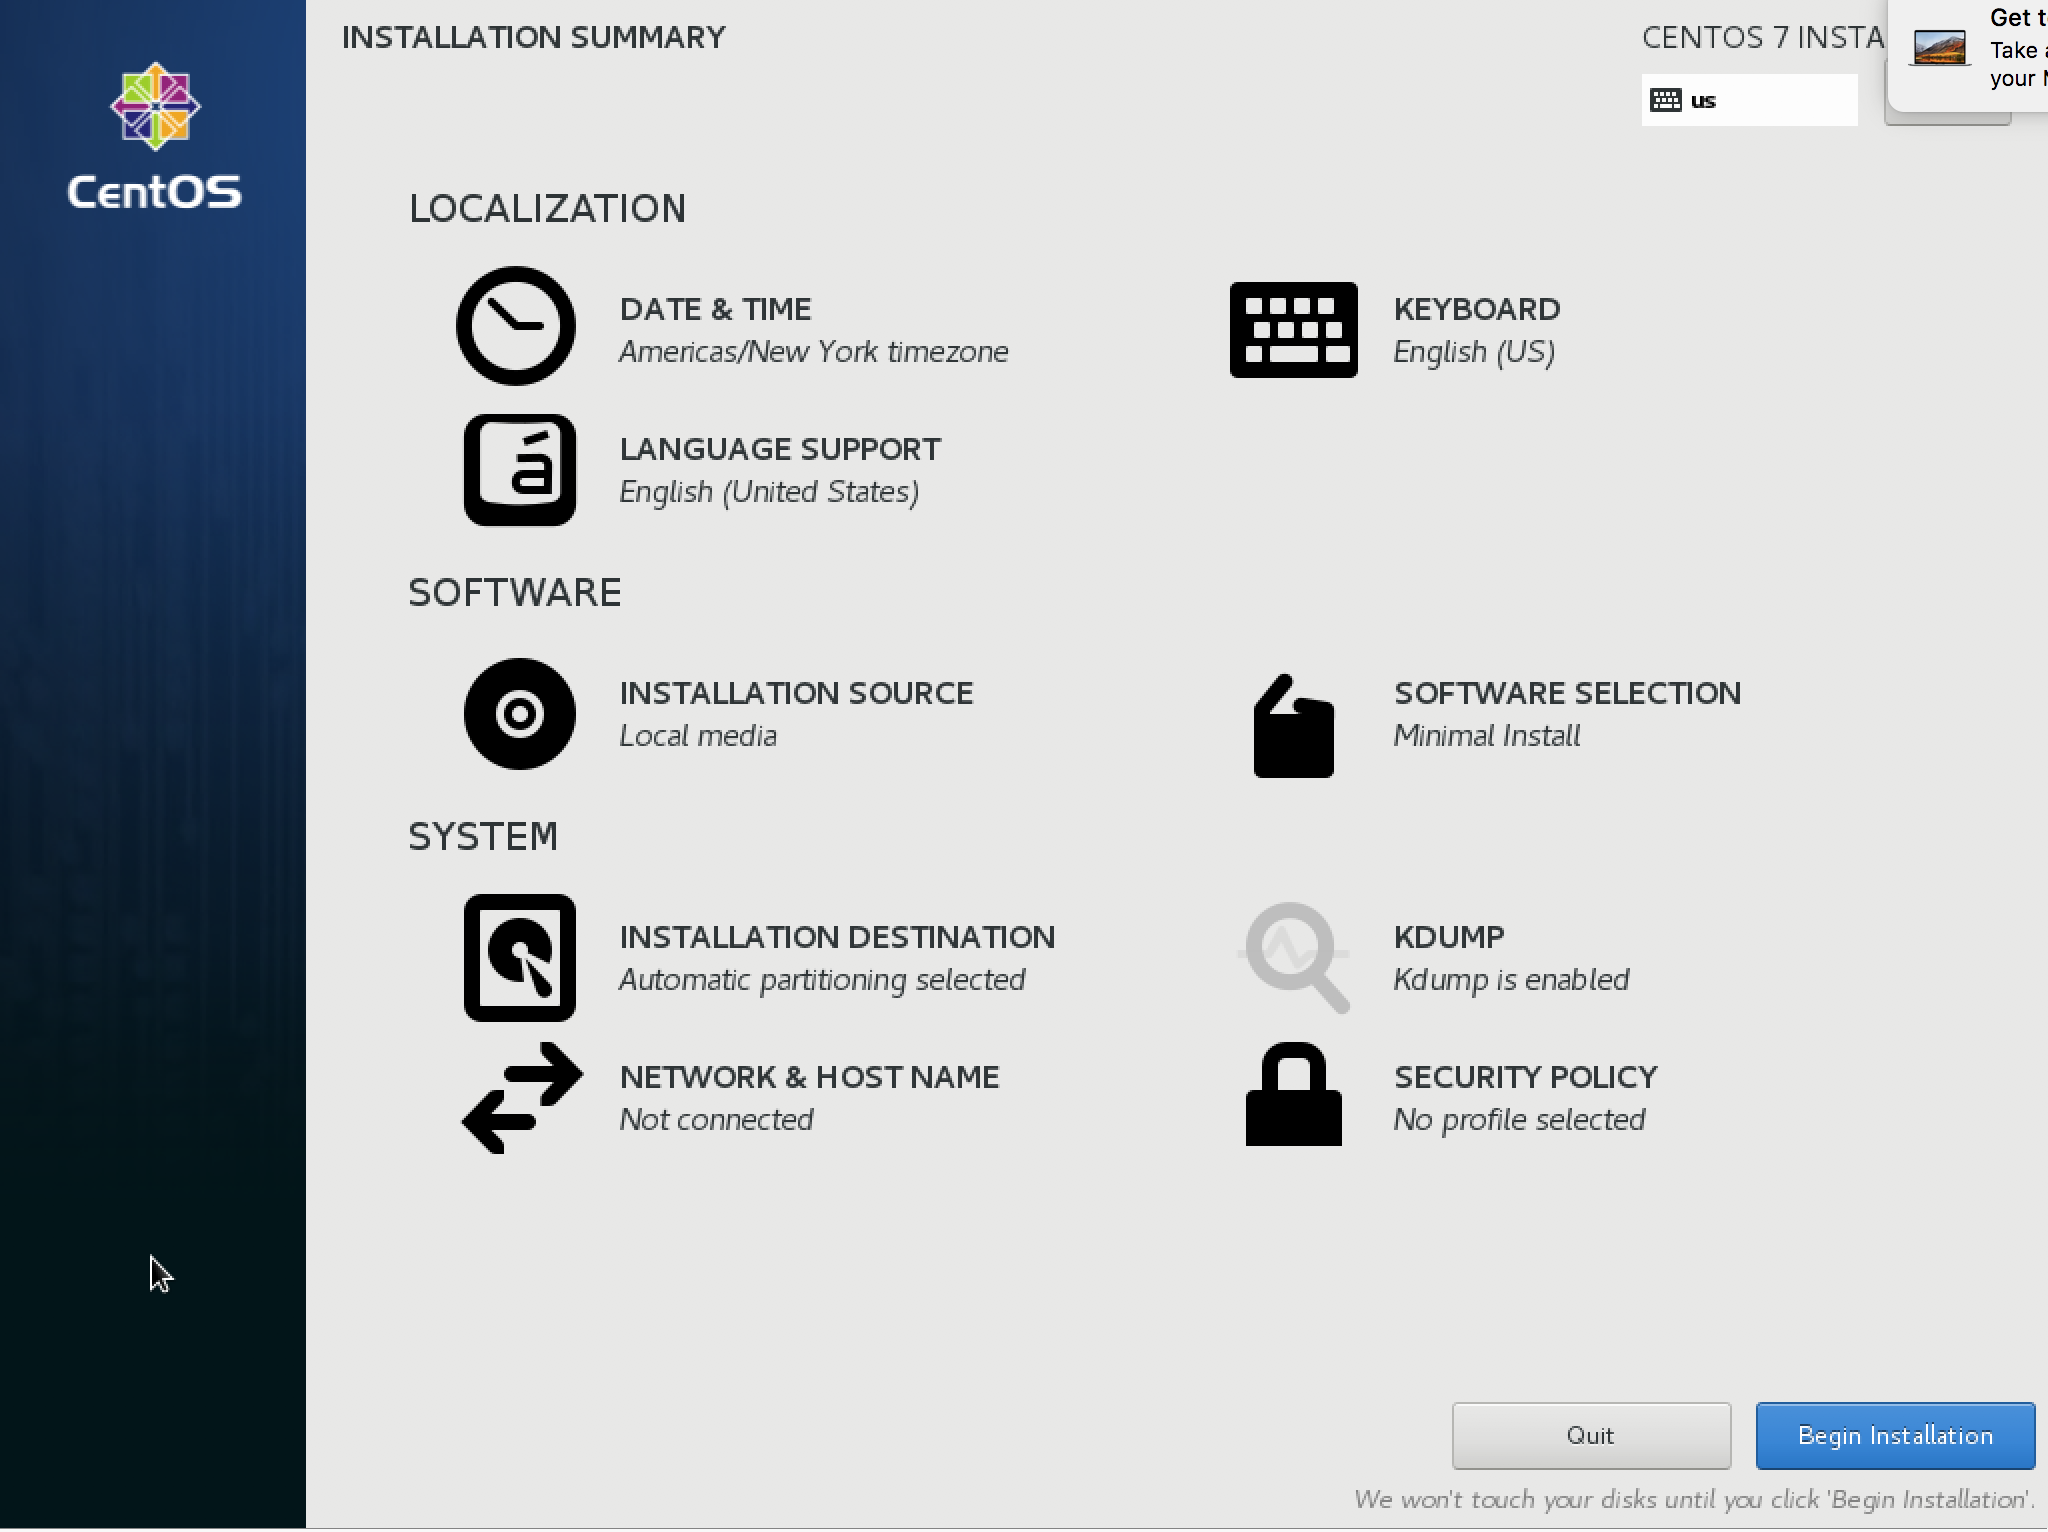
We clicked Installation Destination and cleared out the old installation. The steps ar beyond the scope of this lecture.
Next click Software Selection
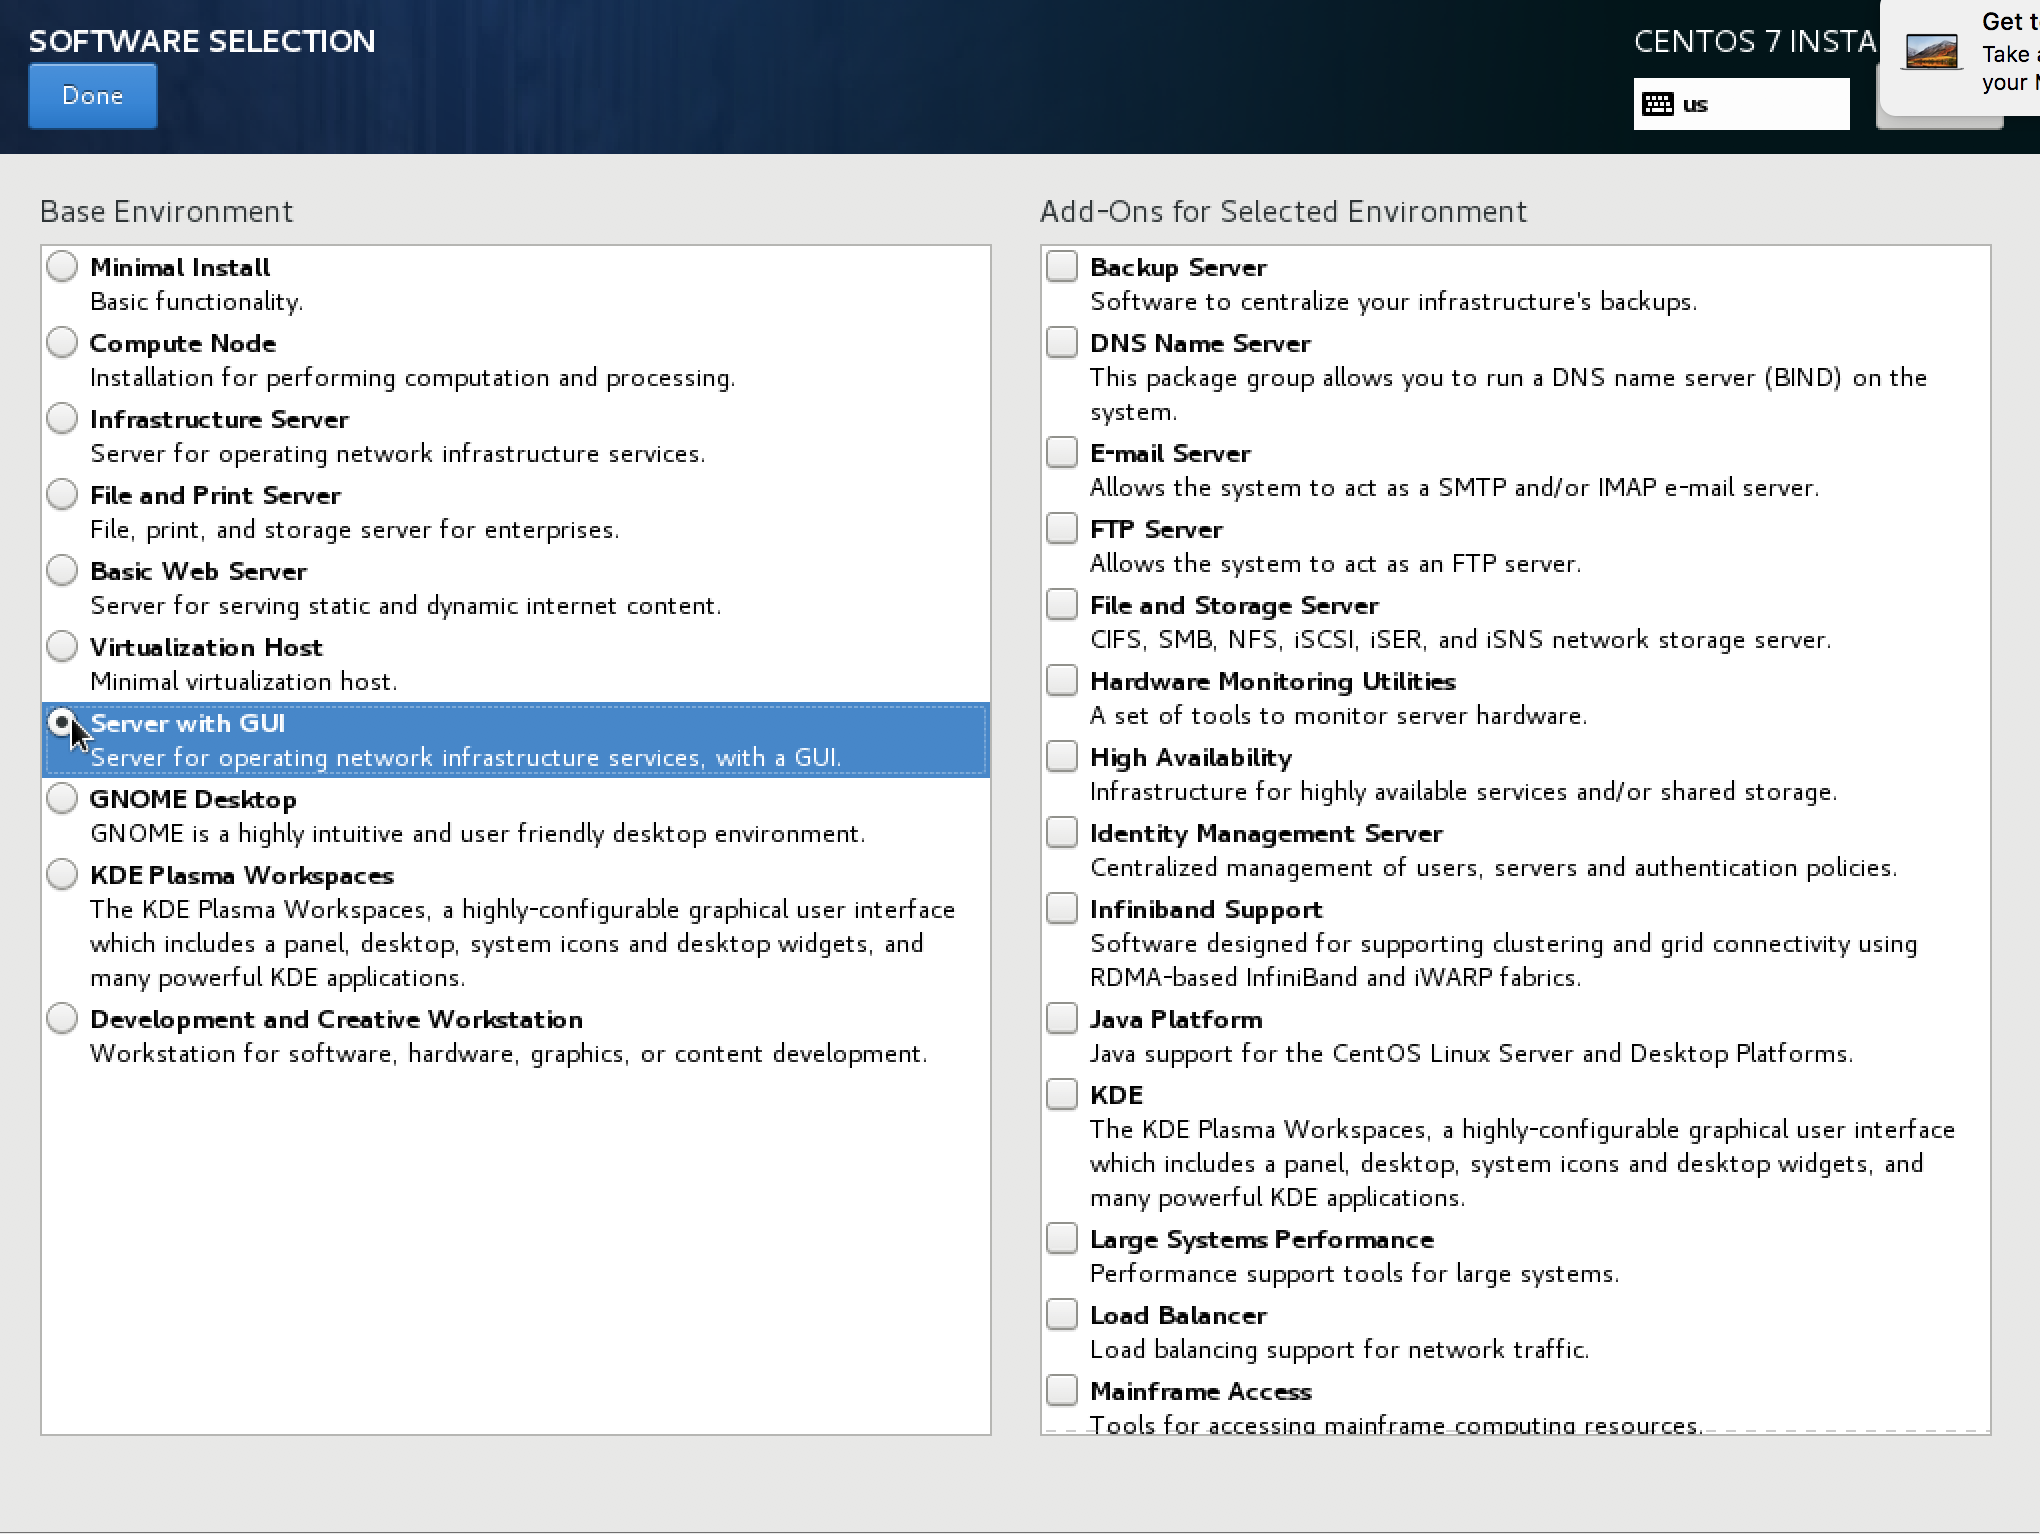
Click Server with GUI we will build a repo and add specific components later.
Click done.
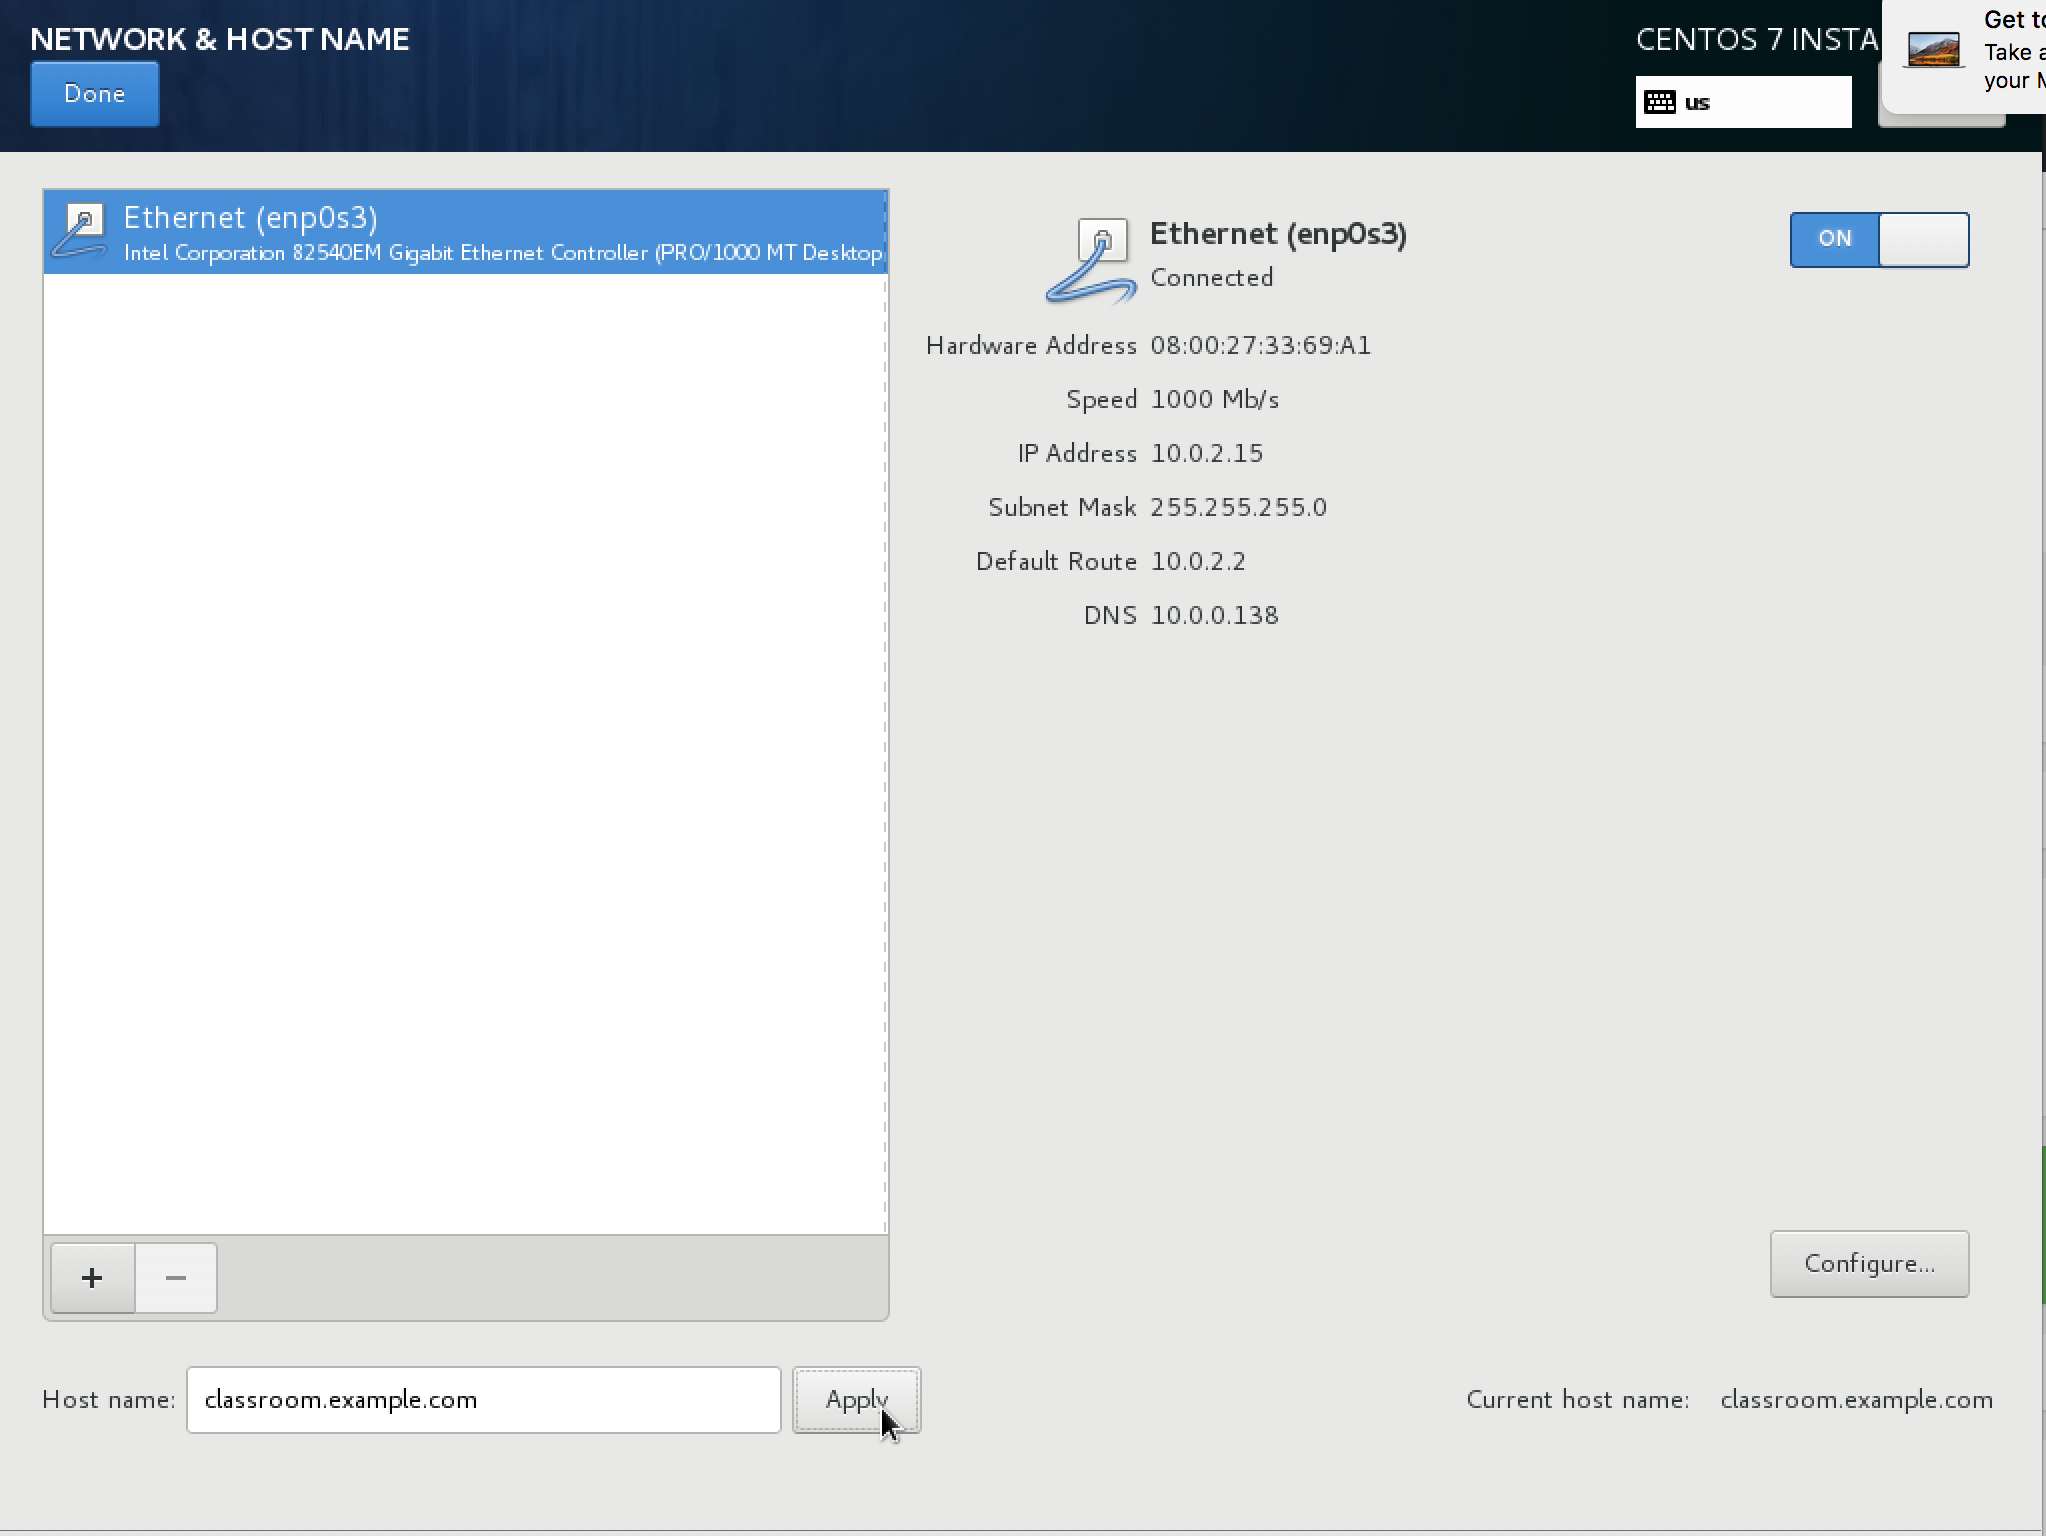
Click network settings and change hostname. Then click configure.
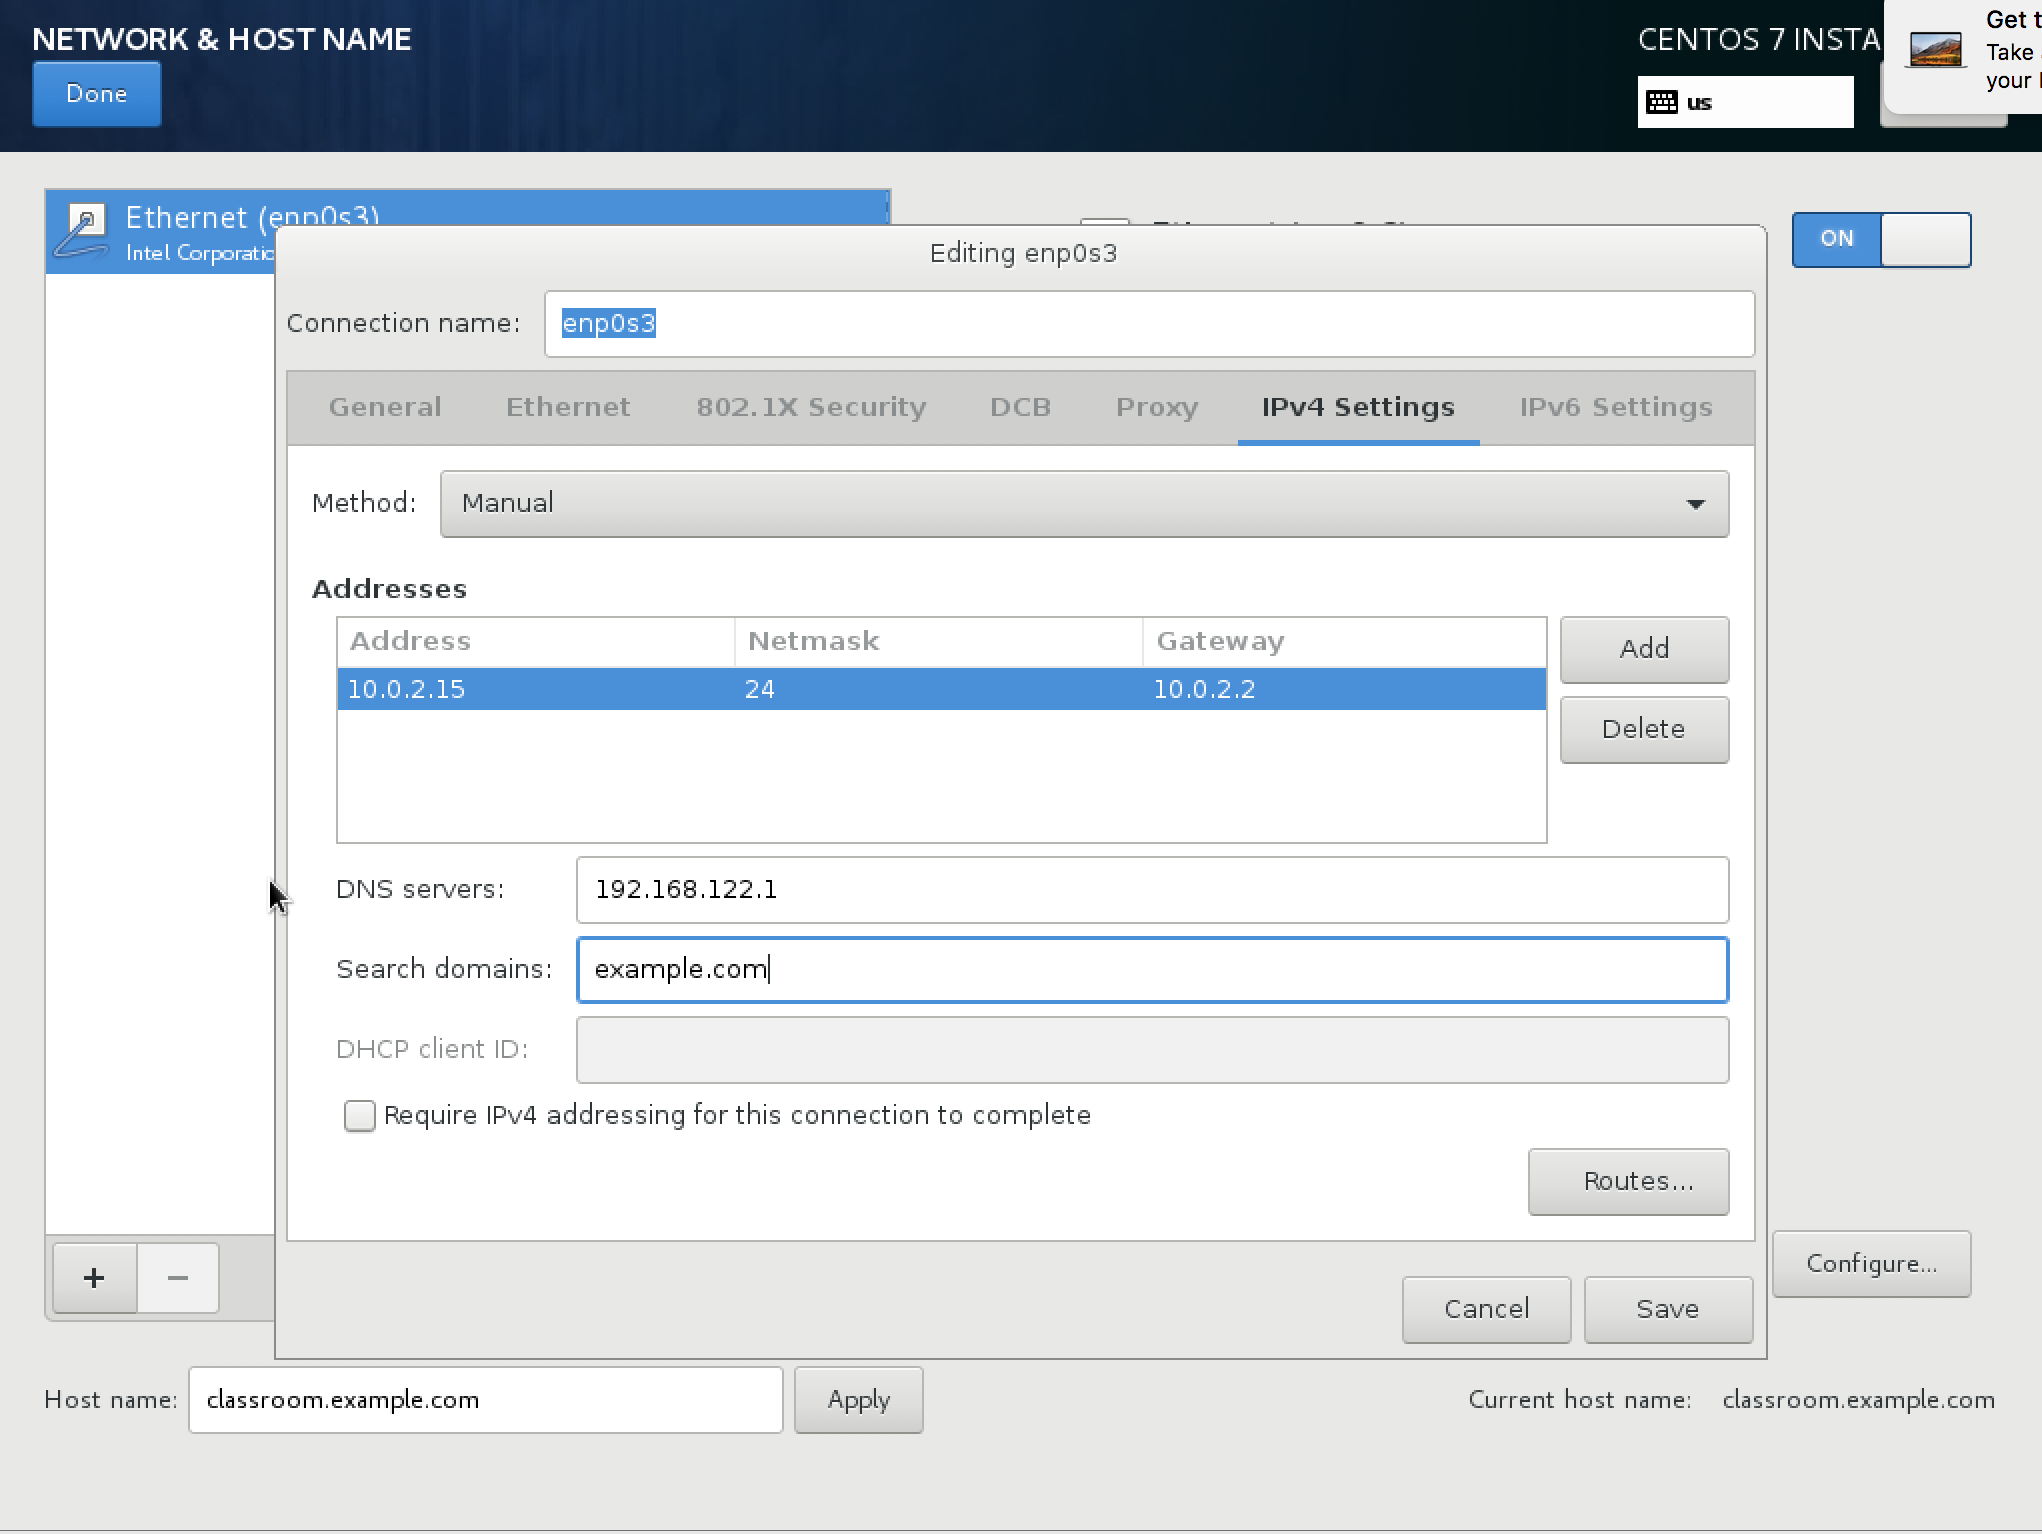
We may need to change the DNS servers to work with the home network.
When done click save.
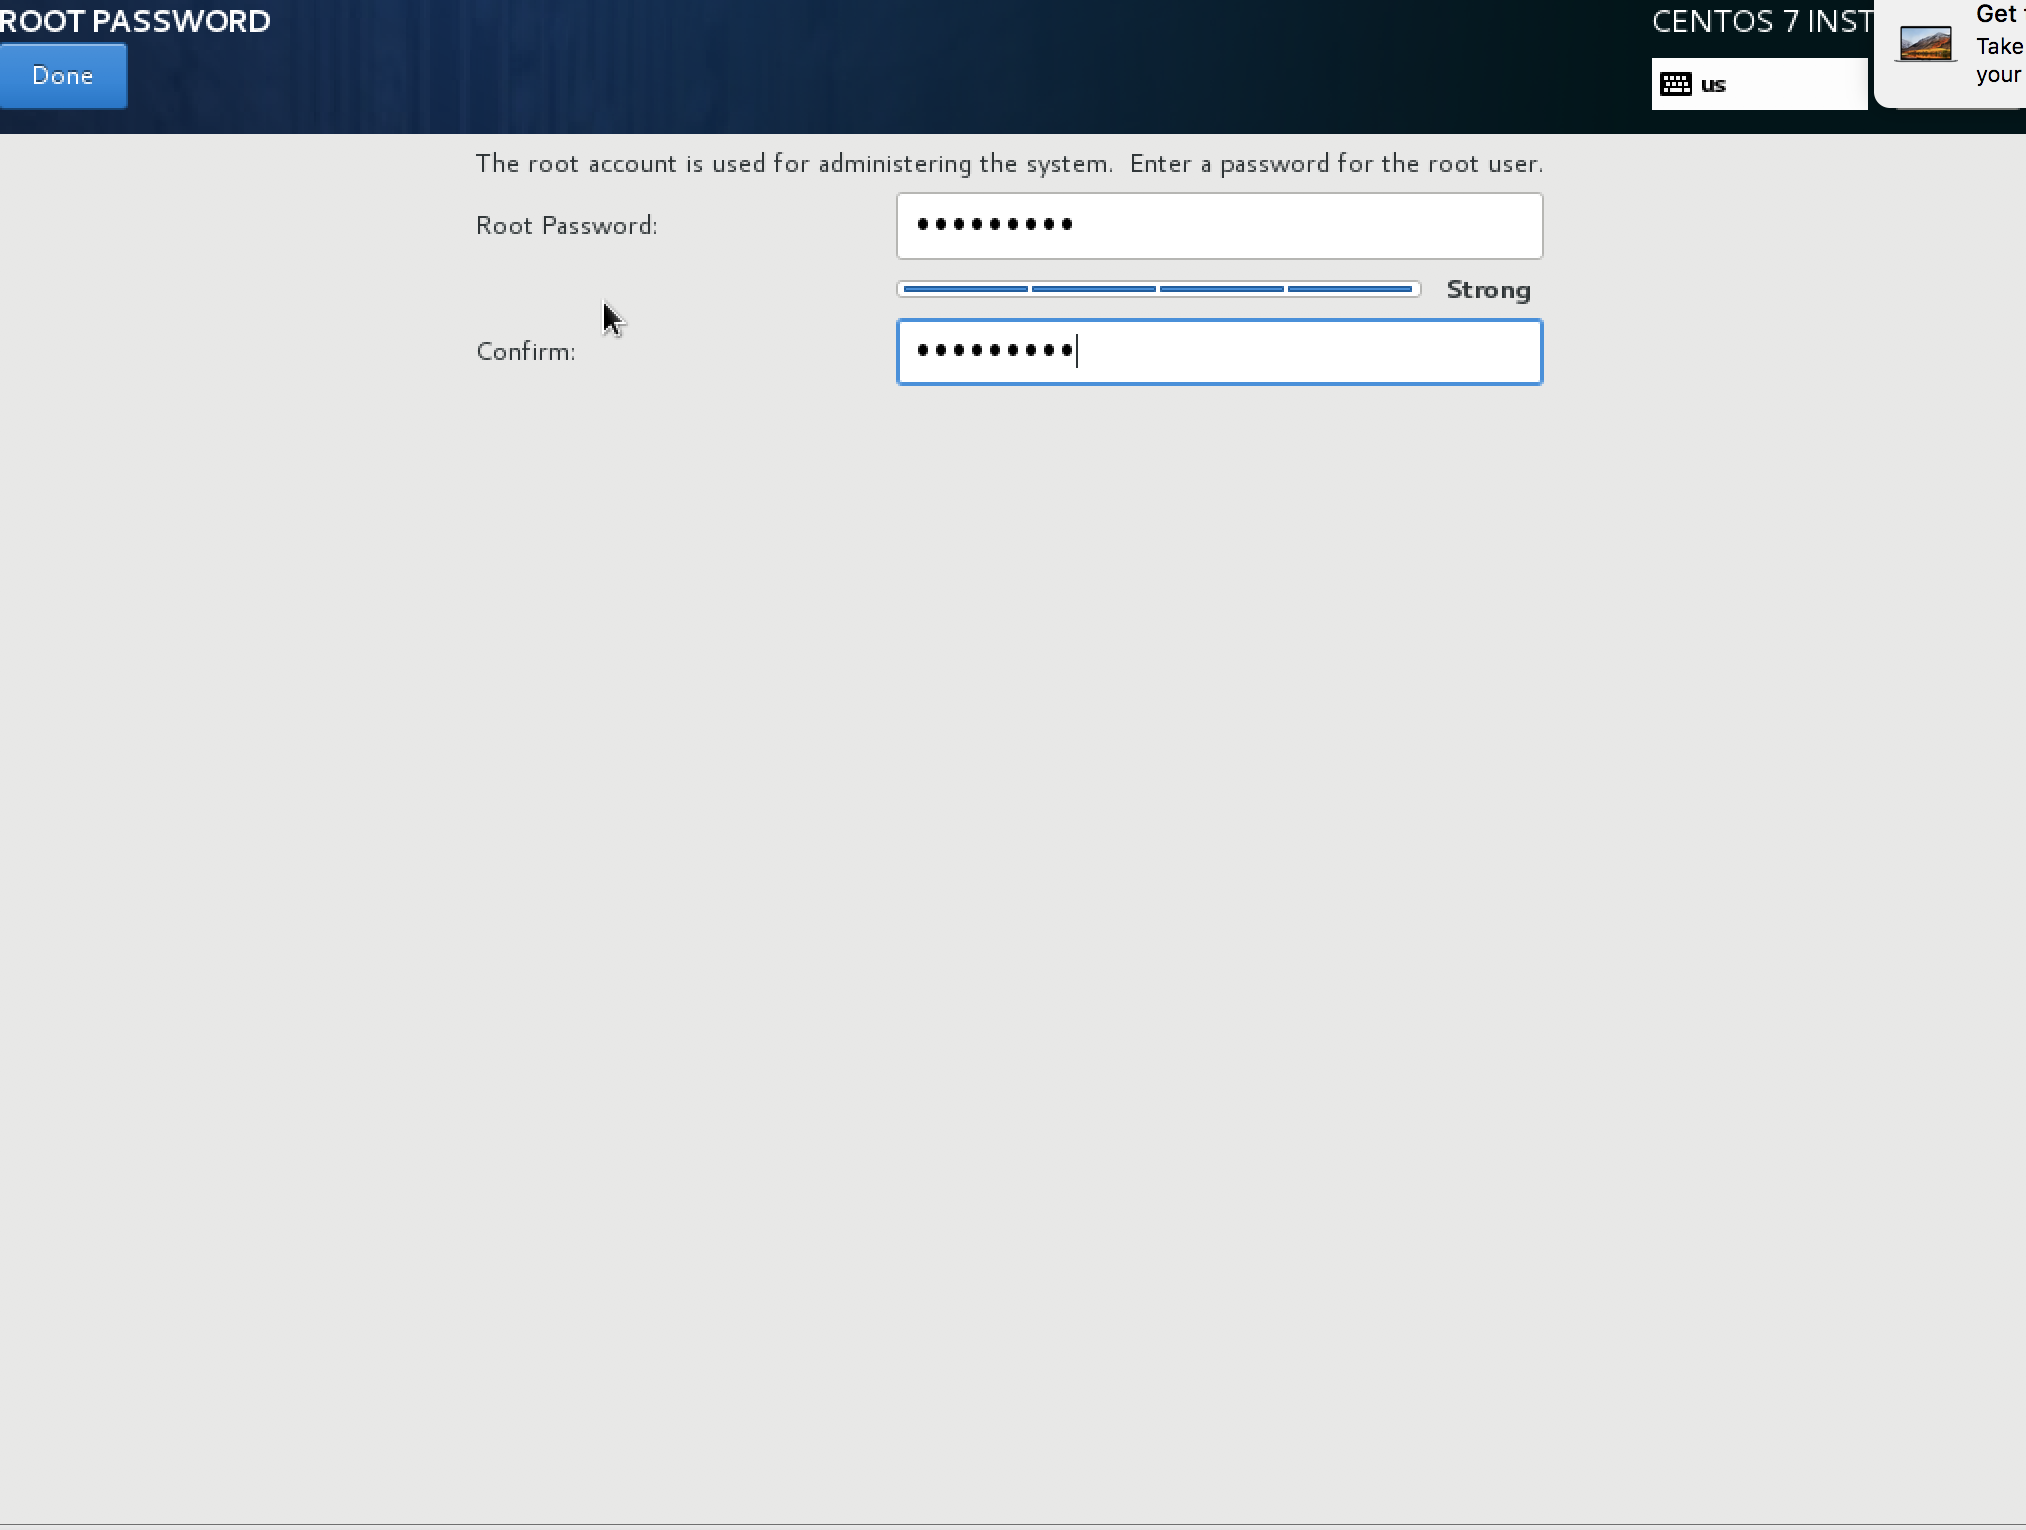
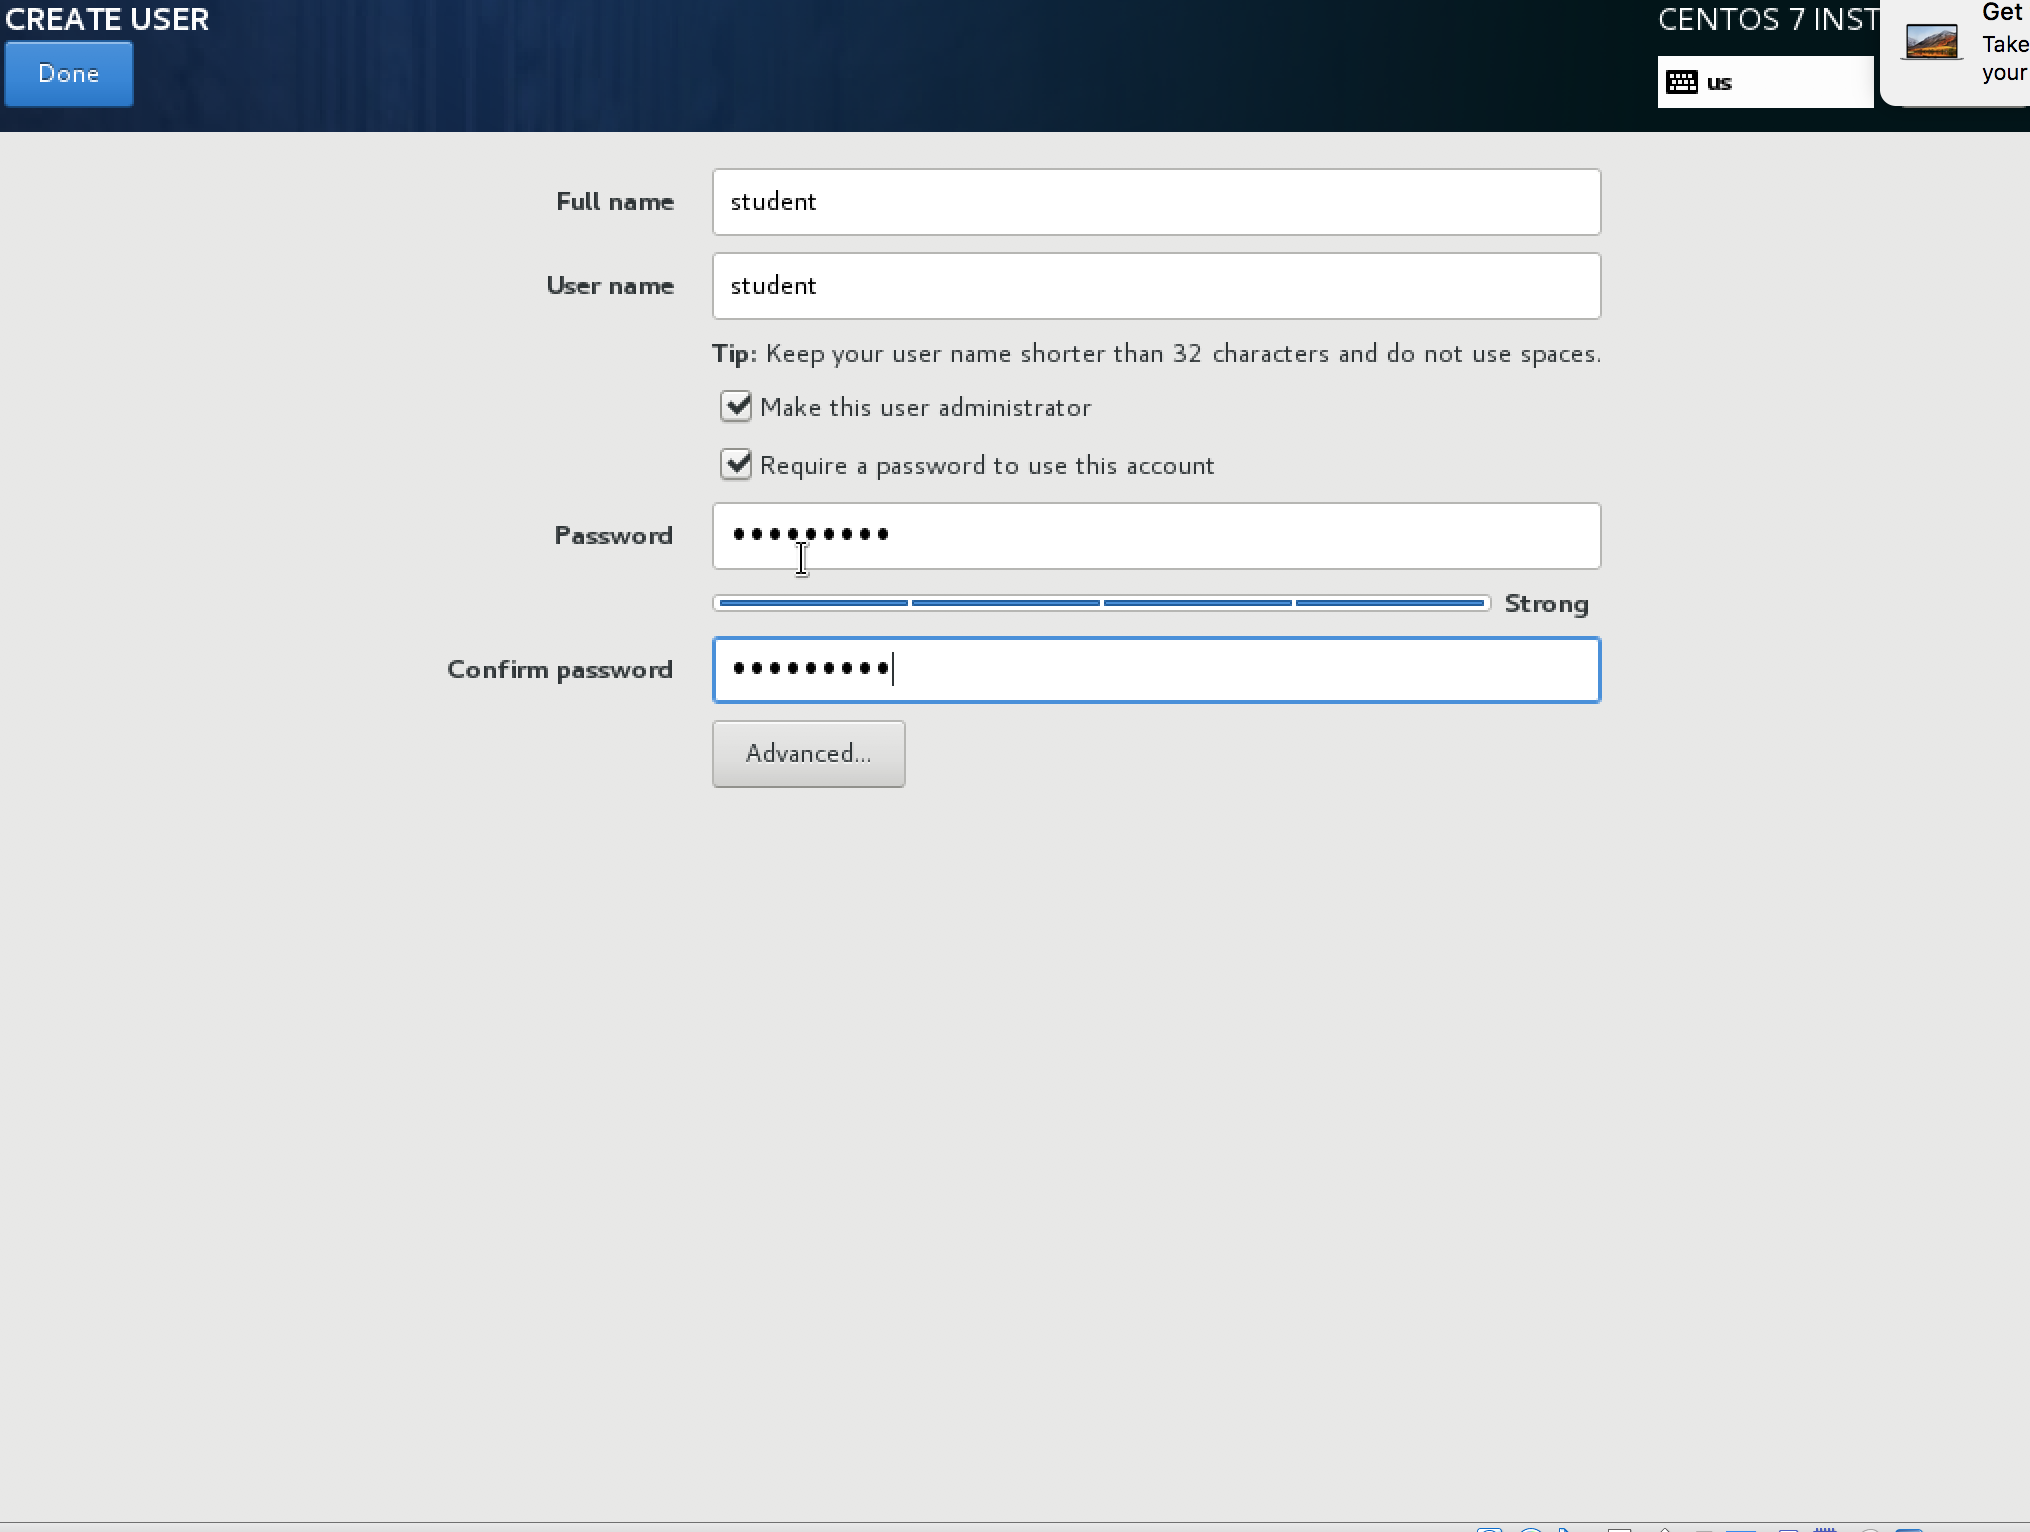
Click begin installation then set the root password.
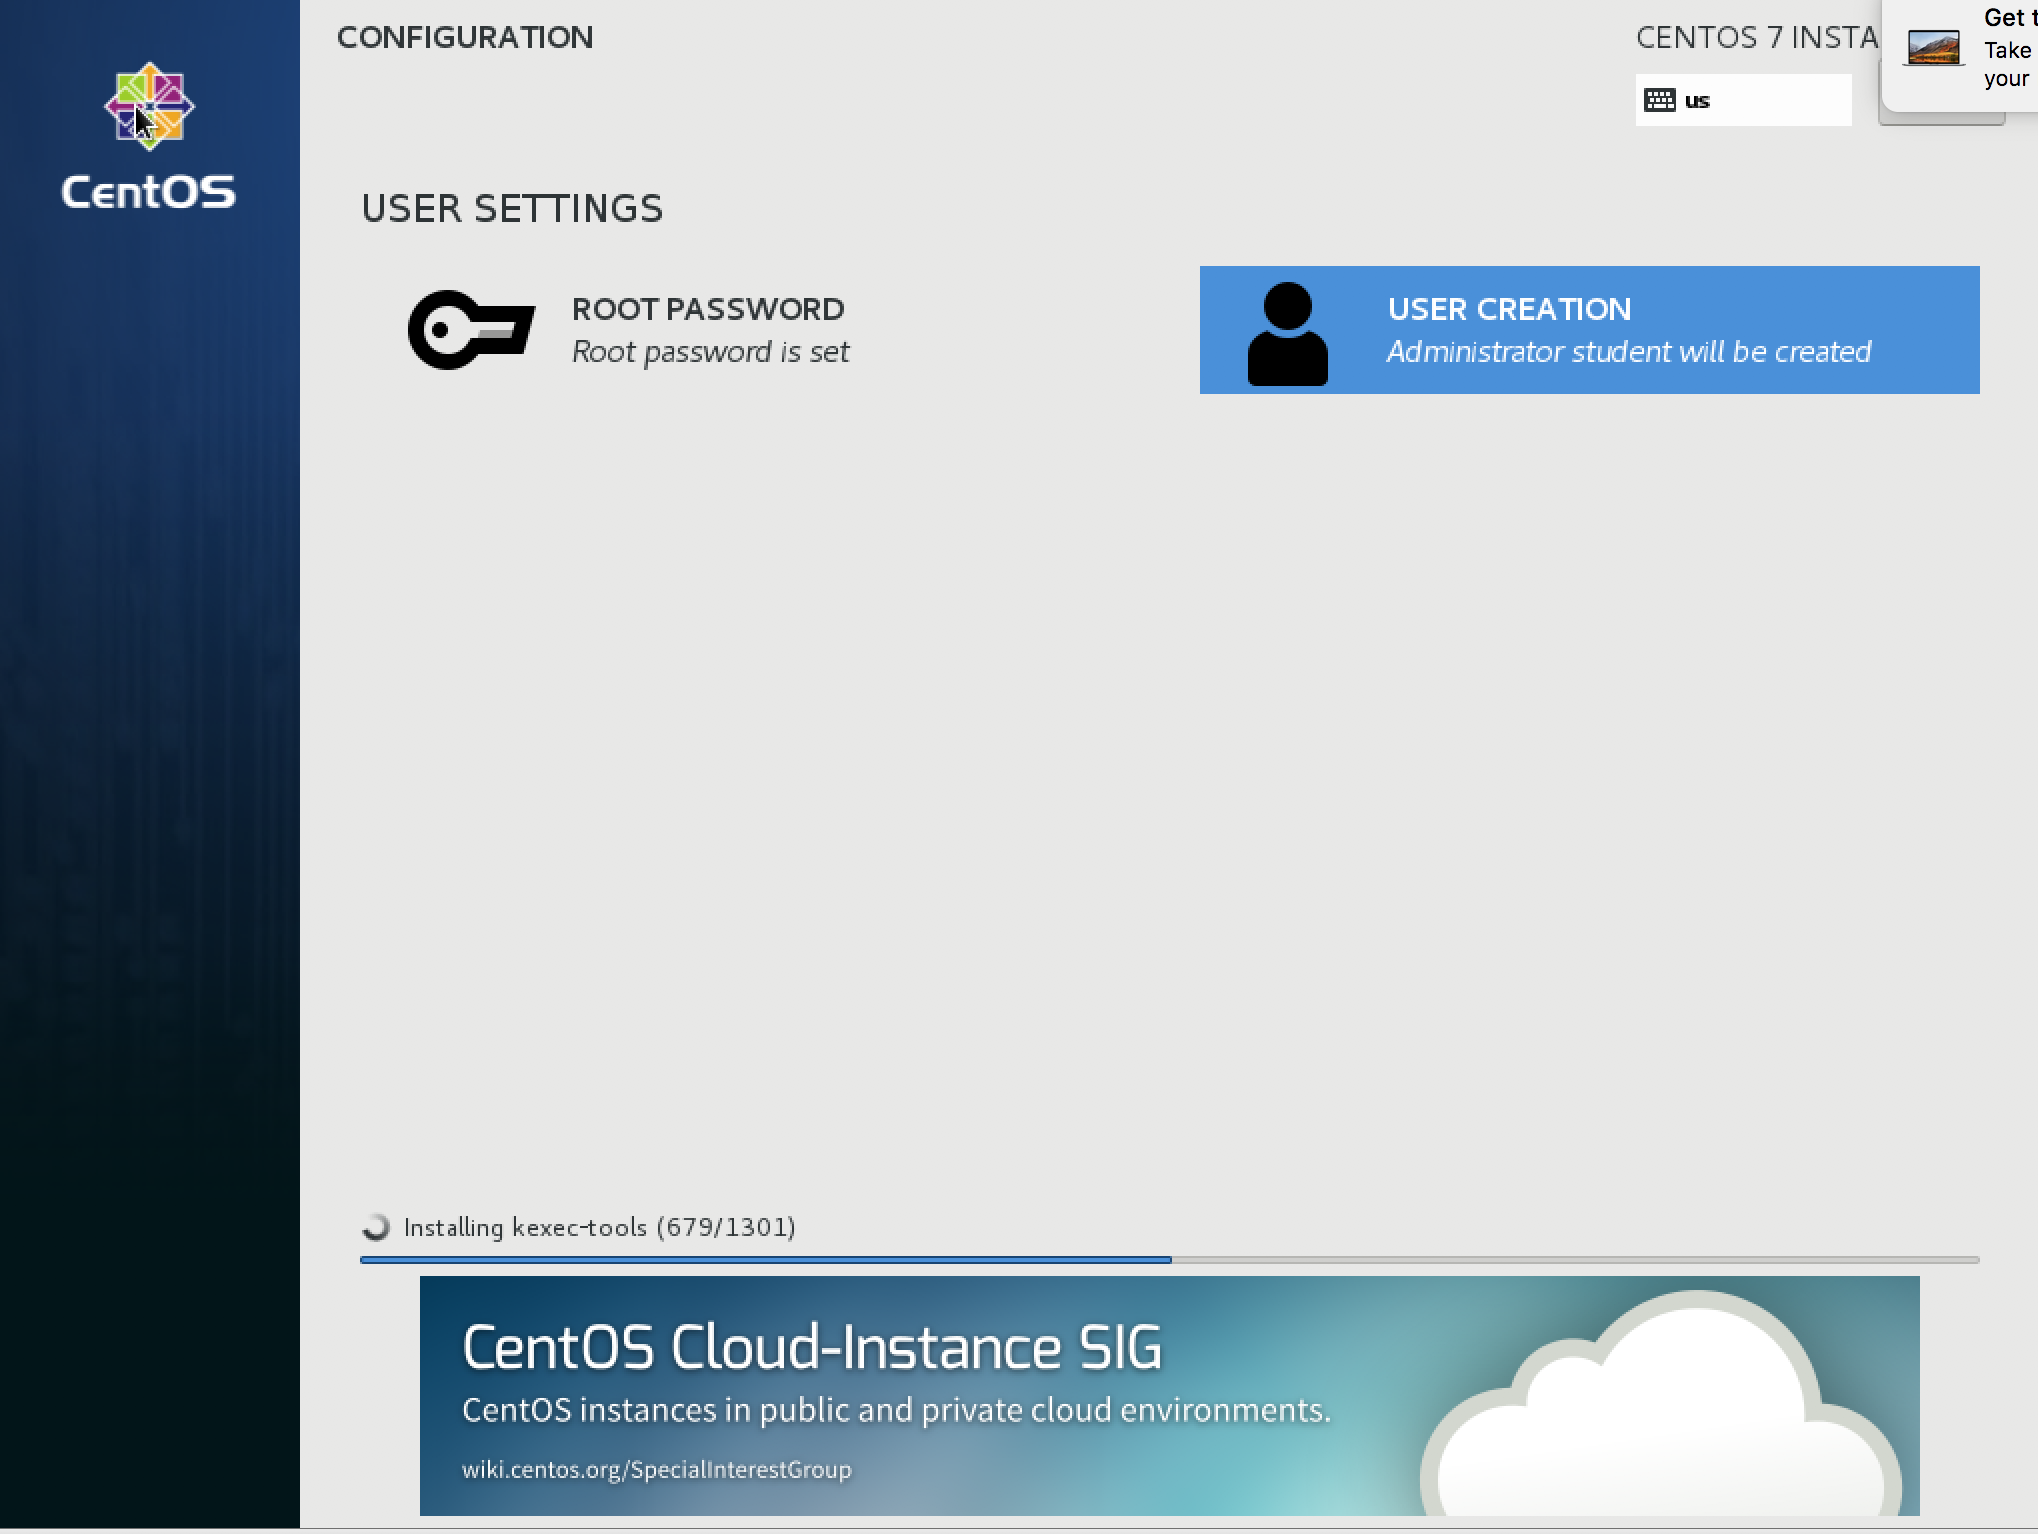
Watch the install finish.

Click reboot.
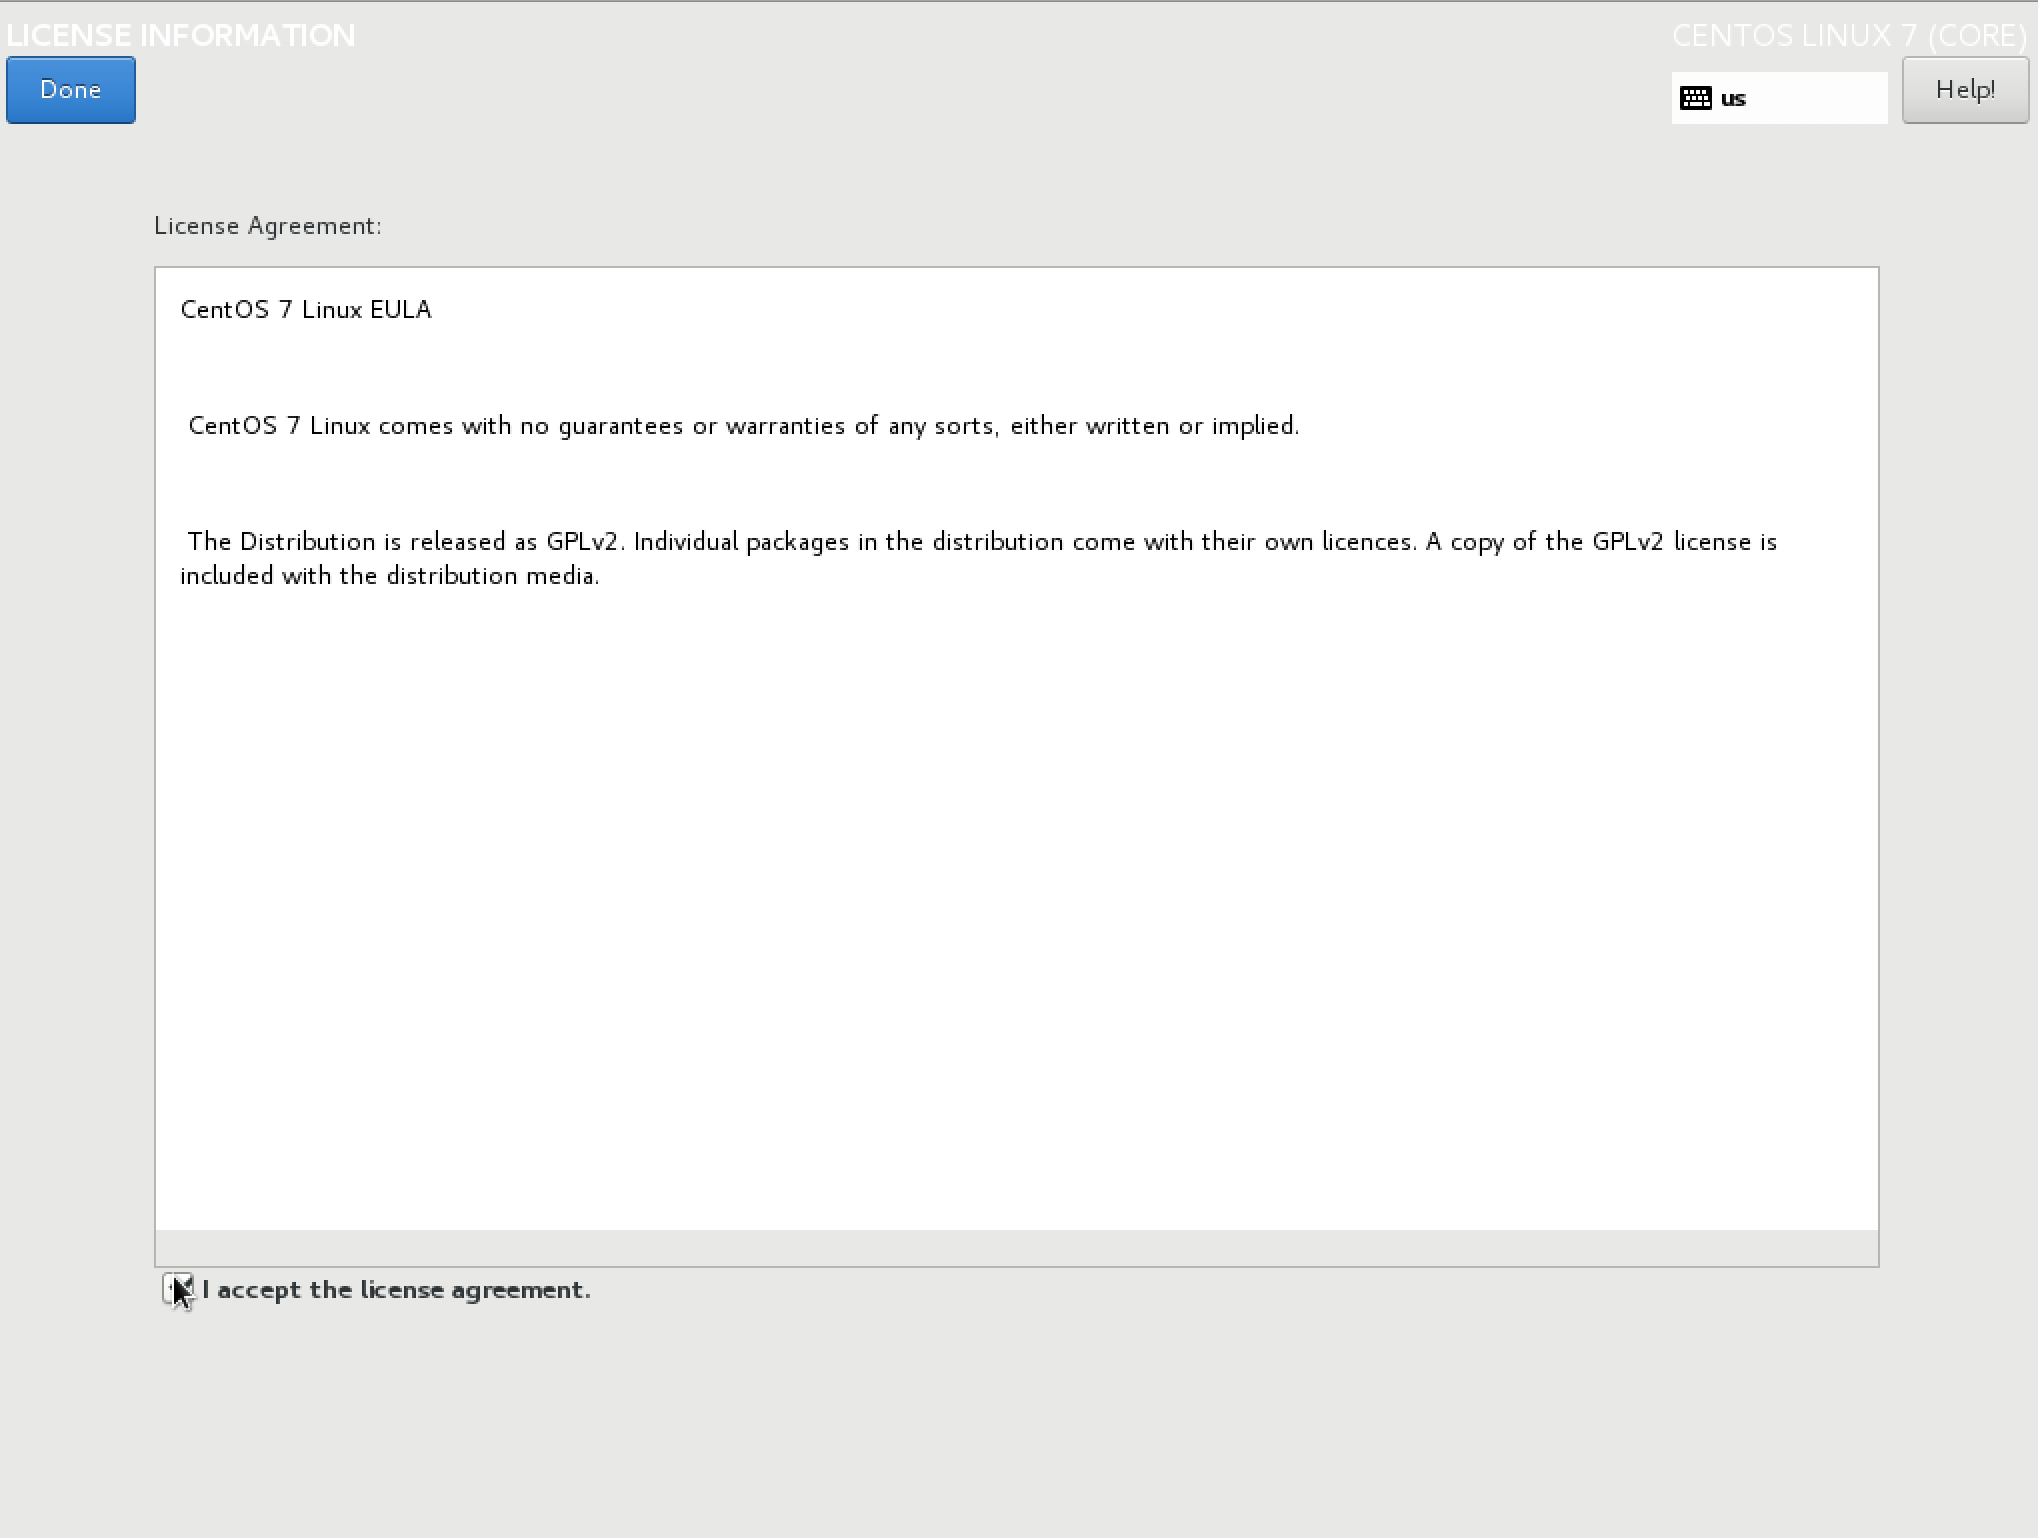
Accept the license agreement.
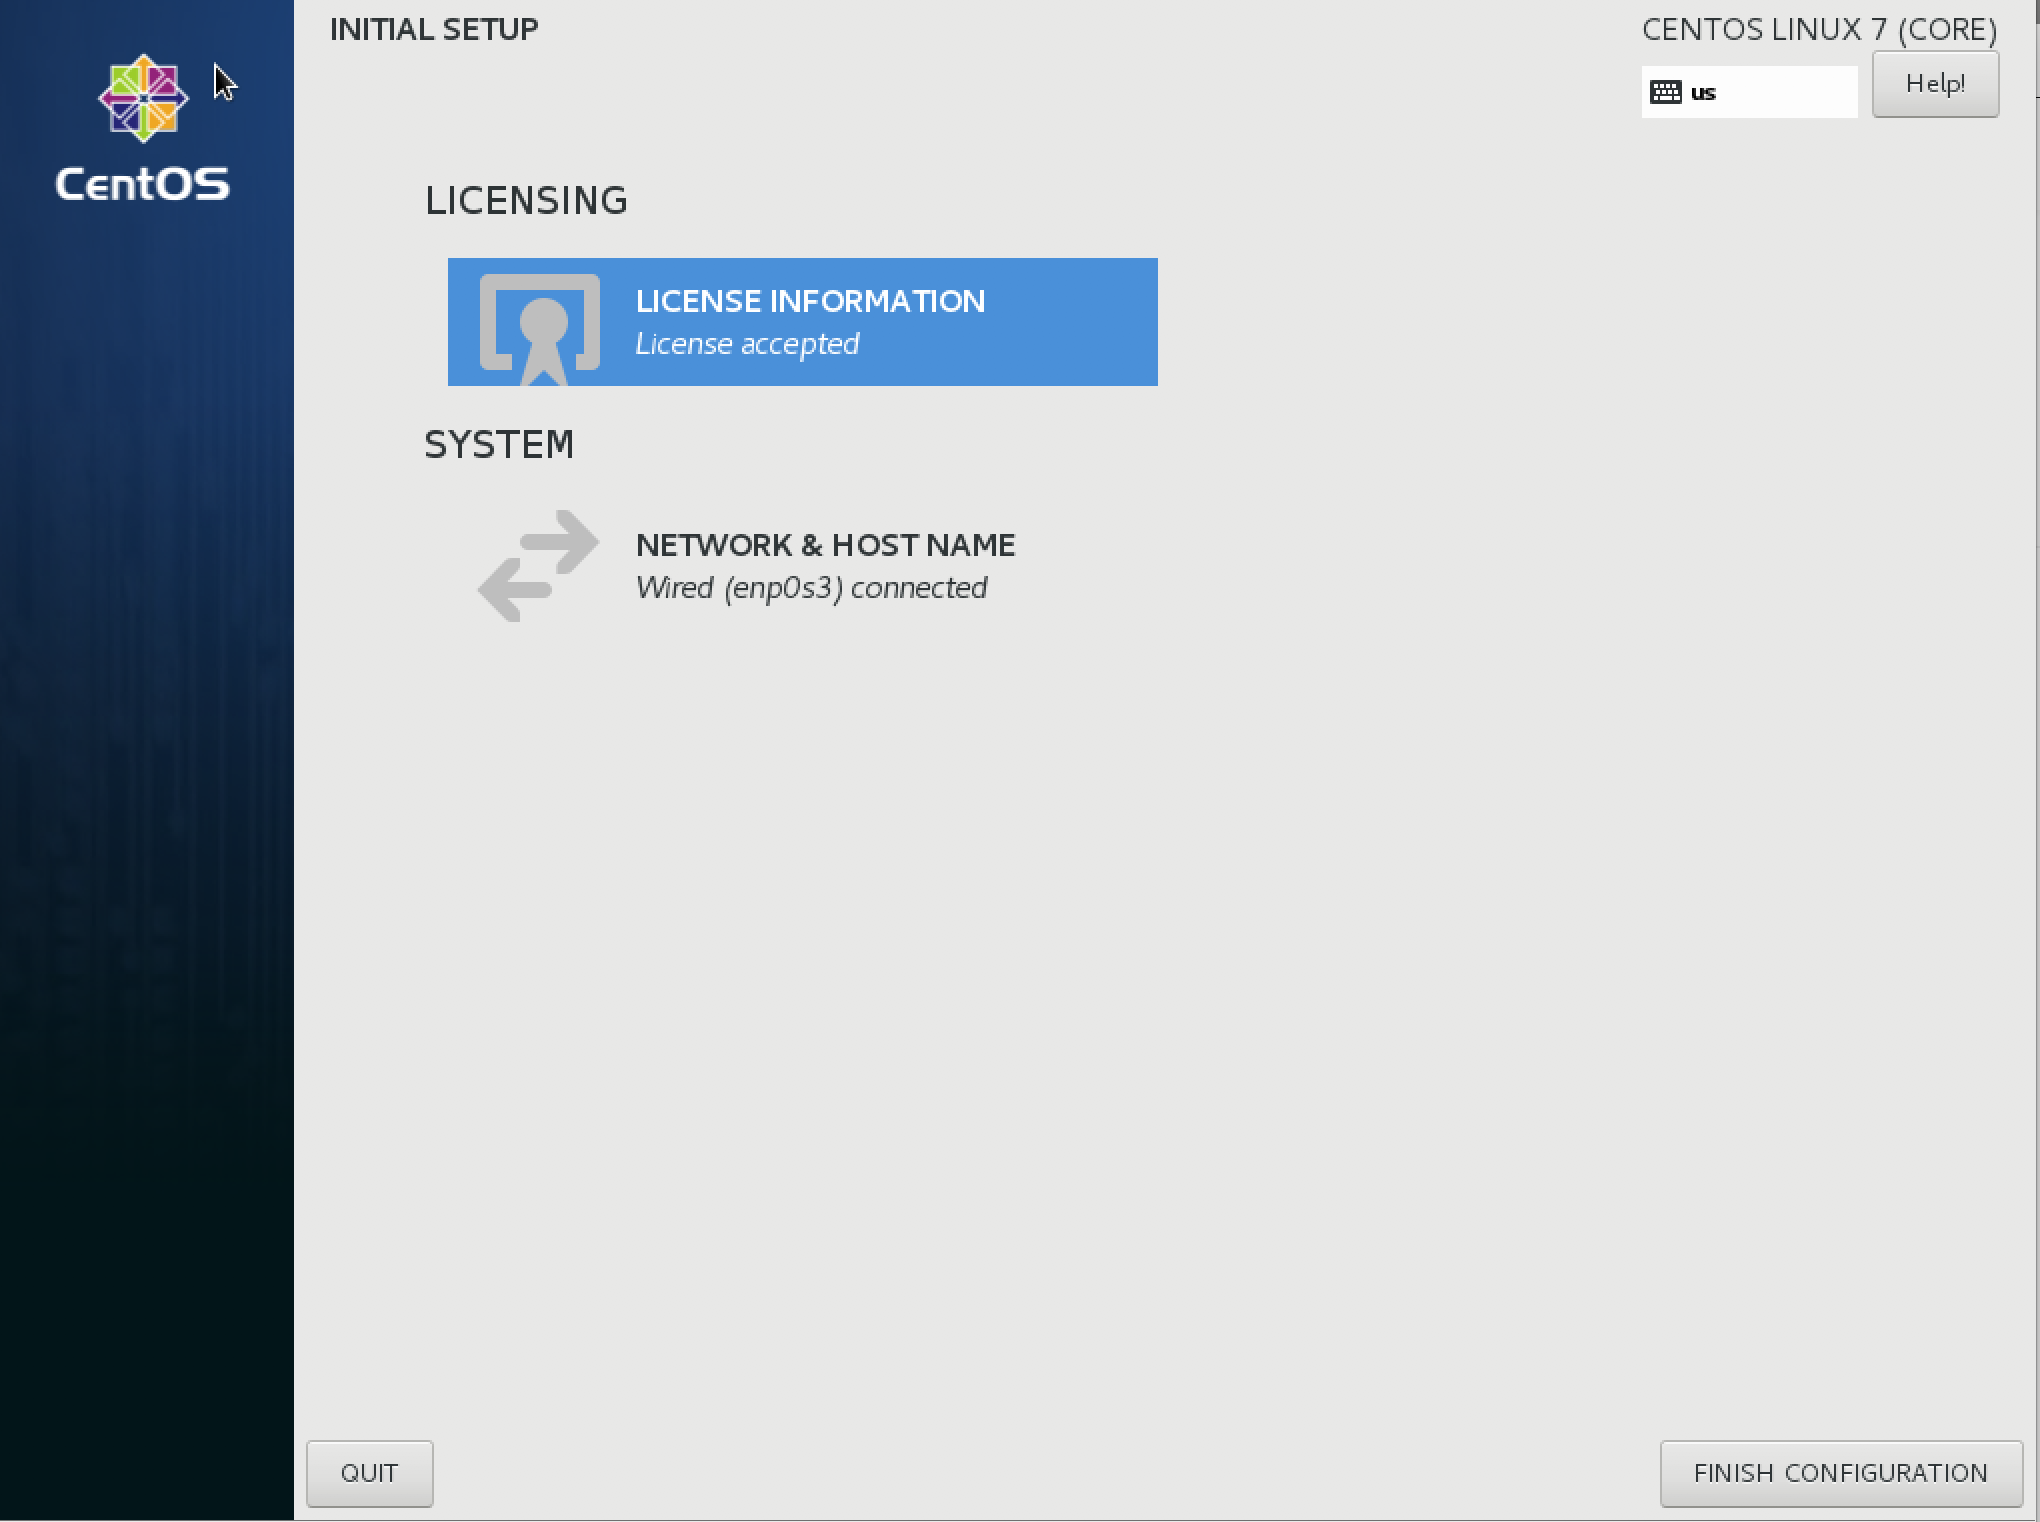
Finish configuration. End of part 1.